How to Turn a Blog Post into Audio with AI Text to Speech
If you already write blog posts, newsletters or lessons, you are sitting on a library of audio content you have not released yet. Turning a written article into a listenable recording used to mean a microphone, a quiet room and an afternoon of editing. With AI text to speech, you can produce a clean narrated version of a post in a few minutes. This guide walks through the whole process, from preparing the text to putting the audio player on your page, with practical tips for getting audio that people actually finish.
Why add an audio version to a blog post?
Readers do not always have their eyes free. Some people want to catch up on articles while commuting, cooking or exercising. Others find long blocks of text tiring on a phone screen. An audio version lets the same article reach both groups without you writing anything new.
Audio can also make your content easier to use for people who find reading on screen difficult. The W3C's stories of web users include, for example, a student with dyslexia and ADHD who finds it hard to focus on and read online content. A "listen to this article" option is one simple way to give readers like that another route into your work.
There is a practical reason too: repurposing. One narrated article can become a podcast episode, a WhatsApp voice note for your community, or the voiceover for a short video.
What you need before you start
- A finished article. Edit the text first. Audio exposes clumsy sentences more than reading does.
- A text to speech tool. For example, the TextPixAI Text to Speech tool, which turns typed or pasted text into downloadable audio.
- A place to host the audio file. Your website's media library, your hosting account, or a podcast host.
- Ten to twenty minutes for a typical post, including a listen-through.
Step-by-step: turn a blog post into audio
1. Make a "spoken" copy of the article
Do not paste the article exactly as it appears on the page. A voice engine reads everything you give it, so copy the text into a plain document and clean it up:
- Remove menus, share buttons, "related posts" lists and image captions that only make sense visually.
- Replace bare links with words. Instead of reading out a long URL, say "you'll find the link in the article".
- Rewrite phrases such as "see the table below" or "as shown in the image". Describe the point in one sentence instead.
- Spell out abbreviations and symbols the way you would say them, for example "naira" instead of "₦", or "for example" instead of "e.g.".
- Turn long bullet lists into short spoken sentences, or add "first", "second" and "finally" so listeners can follow.
2. Add a short spoken introduction and ending
Listeners cannot glance at the title. Start with one line such as: "This is the audio version of our article on budgeting for small businesses, from the TextPixAI blog." End with a clear close: where to find the full article, or what to do next. These two lines make the recording feel finished rather than cut out of a page.
3. Split long articles into sections
For a post of more than about 1,500 words, generate the audio in sections that follow your headings. Shorter chunks are easier to check, and if one paragraph sounds wrong you only regenerate that part. You can join the pieces in any free audio editor, or publish them as separate parts.
4. Choose a voice and speed that fit the content
Pick one voice and keep it for all your posts so your audio has a recognisable sound. A calm, neutral voice suits how-to guides and explainers; a brighter voice can suit lists and news-style posts. Keep the speed close to normal conversation. Too slow feels like a lecture and too fast loses clarity, especially for listeners who speak English as a second language.
5. Generate, then listen to the whole thing
Paste your spoken copy into the Text to Speech tool, generate the audio and download it. Then listen from start to finish. Note anything that sounds odd: names, local place names, brand names, numbers and dates are the usual problem spots. Fix them in the text, for example by writing a name phonetically or adding a comma for a pause, and regenerate only that section.
6. Put the audio on your page
Upload the MP3 to your site and place a player near the top of the article, under a label such as "Listen to this article". On most platforms you can use the standard HTML audio element; Mozilla's documentation for the audio element explains the options. Three settings matter most:
- Show the player controls so people can pause, skip and change the volume.
- Do not autoplay. MDN notes that sites that play audio automatically can be an unpleasant experience and recommends avoiding it.
- Add a download link as a fallback for browsers or apps that cannot play the file inline.
7. Keep the text and the audio in step
If you update the article later, update the audio too, or add a note saying which version it matches. A listener who hears a different price or step from the one on the page will trust neither.
A worked example
Say you run a small catering business in Abuja and you have published a 1,200-word post called "How to plan food for a 100-guest wedding". Here is how the process could look:
- You copy the article into a document and remove the photo captions and the "book us" button text.
- You rewrite "see the price list below" as "prices vary by menu, and the full list is in the article".
- You change "₦" to "naira" and "approx." to "about".
- You add an opening line naming the business and the article, and a closing line inviting listeners to read the full post for the checklist.
- You generate the audio in three sections that match the headings, listen through, and fix the pronunciation of two dish names.
- You upload the MP3, add a player under the title, and share the same file as a voice note with your WhatsApp customer group.
The written post stays the main page, and the audio gives customers who prefer listening an easy way in.
Common mistakes to avoid
- Feeding in raw page text. Navigation, URLs and captions turn into confusing noise.
- Skipping the listen-through. Mispronounced names are the fastest way to make audio sound careless.
- Replacing the article with audio. Keep the full text on the page. People who are deaf or hard of hearing, and anyone who wants to skim, still need it.
- Changing voices every post. Consistency helps regular listeners recognise you.
- Burying the player. If it sits at the bottom of the page, most people will never see it.
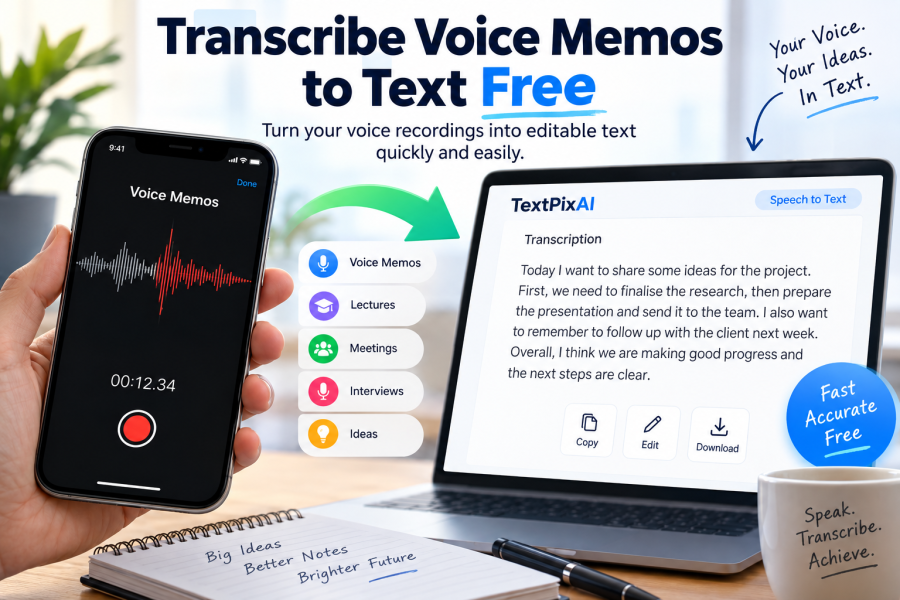
Going the other way: audio into text
The same idea works in reverse. If you record podcasts, interviews or voice notes, Speech to Text can turn the recording into a transcript that you then edit into a blog post. You can then use the AI Writer to help draft a summary, headings or a social caption from that transcript, and the AI Image Generator to make a cover image. Whatever tools you use, read and edit the result yourself before publishing so it stays accurate and sounds like you.
Frequently asked questions
Is AI text to speech good enough for a blog?
For most informational posts, yes, as long as you prepare the text and listen through before publishing. Pay most attention to names, numbers and local words, and adjust the text where the voice gets them wrong.
How long does it take to convert one article?
It depends on the length and how much cleanup the text needs. Preparing the spoken copy and listening back usually take longer than generating the audio itself, so budget time for both.
Should the audio replace the written article?
No. Keep the full written article on the page and offer audio as an extra option. Text is still needed for skimming, for search, and for readers who cannot hear the audio.
Can I use the same audio as a podcast or voice note?
Yes. Add a short spoken introduction and ending so it makes sense on its own, then upload the same file to your podcast host or share it in your messaging groups.
How much does it cost on TextPixAI?
Text to Speech usage depends on your plan. You can compare what each plan includes on the TextPixAI pricing section.
Start with one post
Pick your most-read article, make a spoken copy, and produce one audio version this week. Listen to it as a reader would, fix what sounds off, and put the player near the top of the page. Once you have done one, the next ones get much faster. When you are ready, open the TextPixAI Text to Speech tool and paste in your first section.